Sunday, April 19, 2020

Allied AFV's

Although the Ponte della Morte campaign has been mostly an infantry affair,  my 1/35 WW2 collection does include some AFVs as well. 


The 91st Recon Squadron's trusty Jeep. The .30 Browning  is removable and the windshield folds. Tamiya hit a home run with this kit. 


Another Tamiya kit, the M8 Scott packs a big punch in a small package. 


I magnetized the .50 cal machine gun and super glued pieces of wire in the ring mount so the gun can be attached in four positions.


One of two New Ray Shermans. These kits are dirt cheap and durable. Not the most detailed, but strong enough to handle anything in storage or on the table. I painted this one in a nonstandard "sand and spinach" camouflage similar to British patterns in North Africa 


Another New Ray kit, this time an M3 Lee. I have not gotten around to painting this one yet. It will need some modification. The 75mm gun will not rest in any position except all the way elevated or depressed. Maybe a system of magnets could fix this. 

Friday, April 17, 2020

Fix Bayonets!

I finished work on a squad of British troops today. Outfitted in Mediterranean kit, they will work well for both North Africa and Italy.


The commander, the Bren gunner and a rifleman. Maybe the 91st Recon will run across this squad somewhere in Ponte della Morte. They are in need of reinforcements and a morale boost.


Now for the misfits! Every squad has them. Pvt. Andrew Connolly refuses to wear any headgear except for his battered cap. His commanding officers have learned to let him be as he is a wonderful soldier in all other respects. Cpl. Roland O'Bryan, on the other hand, developed his skill with a Thompson Gun in the Irish Revolution. He's now a wanted man in his own country for desertion. The way he sees it, Nazi's are a greater evil than the British.


Edit: Blogger seems to be having a hard time displaying my photos. If someone could leave a comment below verifying all 4 pictures are displayed, it would be much appreciated. 


Tuesday, April 14, 2020

The Perfect Base in 5 minutes

Continuing with the Italian Officer from my earlier post here, I thought I would show my basing method as well. I start with paper board but any base could be used. If plastic or resin bases are used, a stronger glue may be required but that would be the only change. After cutting out the desired base from a piece of paper board, I superglue the figure to the base.


Next, after the superglue dries, I use a plastic water color brush to apply an even coat of  Elmer's School Glue. Any PVA glue works at this step.


I use model railroad ballast to represent sand, dirt and whatever else I need for the first layer of the base. I keep it in a plastic tub and sprinkle it over the base while holding the figure over the tub. After the base is completely covered, I tap the figure until all the excess ballast falls back into the container.


After the glue dries a little, I coat the ballast in the same Elmer's School Glue as before.


Using the same sprinkle, tap and shake method, I apply static grass over the ballast.


These simple steps can bring a figure to the next level. Ballast and static grass seem to last forever If you continue to save the excess from each base.

Wednesday, April 8, 2020

8 Steps to a Stunning Paint Job Using Only Craft Paints

As a budget conscious hobbyist, I try to keep my budget manageable.  One way I do this is to only use inexpensive craft paints. Brands like Anita's and Americana can be used for a very good result with only a few steps. 


To demonstrate these techniques, I painted this Tamiya 1/35 Italian Officer. He is a crisply detailed figure and very easy to work with. After building the figure, I trimmed any excess glue. 


Step 1
Instead of priming, I give the figure a base coat in either black, grey, or white. This base gives your other paints a better surface to hold to, but also serves some appearance purposes as well. The black adds a darker tone to whatever color you put on top. White does the oposite of this and grey is more of a neutral base.  I chose matte black for this figure because of the grey colored uniform. Your base coat doesn't have to be perfect! I missed some spots on the lower legs of this model. What is important is that you only use one coat and let the molded details show through.


Step 2
Next I paint on what ever color the majority of the figure will be. Two thin coats does the trick nicely but make sure you give the model time to dry between coats. This gives you the most detail retention possible. Obviously the black shows up under the first coat but the second coat provides a nice overall color.


Step 3
After the main color is dry, I move to the skin tone. After applying one thin coat you will start to doubt that this model could ever look good with these paints, but have faith!


Step 4
While the skin tone is drying, I move to the other colored details on the model. For this officer it was a Sam Browne belt and black leather leggings over his boots.


Step 5
After the first coat of skin tone is dry, I put another thin coat over it. while this dries I continue working on the other details of the model. Here I painted the piping on his cap, browned his boots and tidied up his collar.


Step 6
Here I finish up any little details left to be done. Hair, buttons and touching up any mistakes are what I did here.


Step 7
This can be the most challenging step, giving the figure a wash. After it dried,  I gave this figure two colors of wash; a brown wash on all exposed skin and hair, and a black wash over everything else. Take a few milliliters of water and mix one or two drops of paint with it. Stir it till it has an even consistency. It should be very runny. Apply this mixture with a brush and absorb any large areas of excess by touching them with a paper towel.


Step 8
For protection I varnish my figures in an ultra matte varnish. Tabletop miniatures endure all kinds of abuse either in storage, transit or on the game table itself. The varnish will look very glossy at first. but as it dries will preserve the original look very well.


Here's my completed figure. The washes bring out the uniform and face details and show just how well sculpted this figure is. When I started the hobby, painting seemed so intimidating.  Hopefully this little tutorial helps someone see how simple painting a nice table ready miniature can be.


Monday, March 23, 2020

Skirmish Campaign: Stranded Sherman Part 2

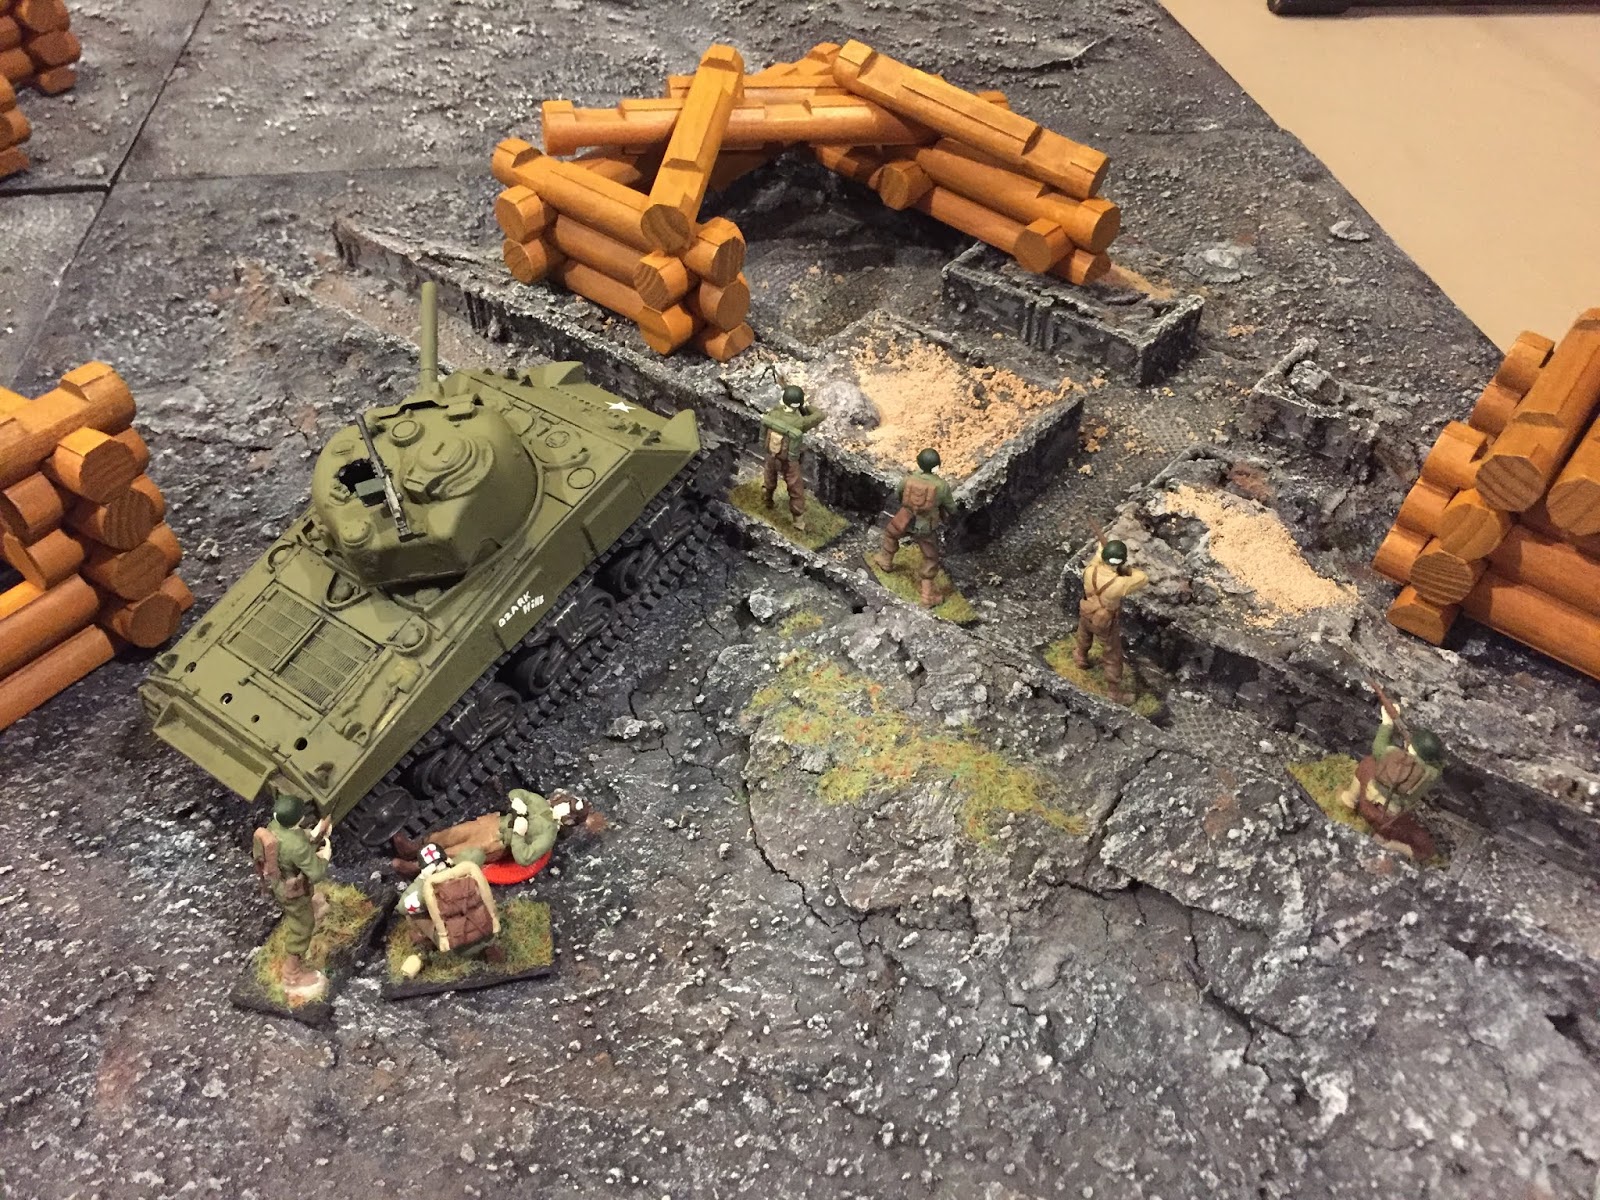
The 91st Recon successfully located the lost Sherman but before contact could be made, the tank blundered into a German fortified position. The daring rescue team is now made up of  Lt. Hughes, the ever present Sgt. Cox and his BAR man Cpl. Wood, Cpl Collins the Ranger, Pvt Phillips the grenadier, and the medic Pvt. Mitchell.  The other members of the squad waited behind in reserve. 

November 3rd 1943

As a Sergeant it is not usually my duty to write after action reports but after today's engagement I find myself thrust in command. I have taken it upon myself to write in the late Lieutenant Walter Hughes's journal the record of his death. 

We entered the outskirts of the village of Ponte della Morte and quickly located the tank which we intended to contact. As we approached, a German antitank gun shot from ambush. The shell hit the engine of the tank and smoke poured from its hatches.   

 Lt Hughes and our medic, Pvt Mitchell, rushed to the crippled Sherman and pulled a wounded tanker from the wreck. I led the rest of the squad into cover, taking over an abandoned trench system to our right. Cpl Wood noticed an enemy Squad negotiating the rubble of a ruined building and kept them at bay, emptying his BAR. 

 As the medic helped the wounded tanker to his feet, the brave Lieutenant dove into the burning hulk again, pulling another tanker from the steel coffin. A third attempt was a failure. He jumped out yelling that the fire was close to the ammunition. He grabbed the nearly dead tanker and began to drag him away from the explosion we knew was coming. We all kept our heads down, finding any cover that we could.  

 Cpl Collins held the advancing Germans off but none of us had seen the German sniper who must have been in a building near by. Lt Hughes was noticed as he drug the dying tanker. A rifle shot was heard and he slumped forward, lifeless. Medic Mitchell turned to look but the German gun fired again, obliterating the tank and filling the air with shrapnel.


 We retreated back in to the mountains. The men are still in shock from the days events. As I am in command now, they look to me for our next plan. The decision to press the objective and locate as many allied troops as possible, or to retreat to known Allied lines is is still to be made.
 Sergeant William Cox
C Troop
91st Reconnaissance Squadron


Obviously a disappointing outcome, but that's the reality of a random solo campaign. As the men of C troop are still a ways from Allied lines, even a retreat could bring up some action. The squad is at hex 5-5. Today's battle,marked by the tank was in hex 4-4.

Sunday, March 22, 2020

Conscripts and Covid 19

           Sorry for the absence from cyberspace. Real life gets in the way of hobbies (as it should). The world seems to have turned upside down in the midst of a week. However I am trying to keep as normal a life as possible through this trial. I think I will find more hobby time than normal as this pandemic continues. I hope my forays in to solo gaming will inspire readers to expand their games as they may not be able to meet with their usual groups due to this global crisis we now face.

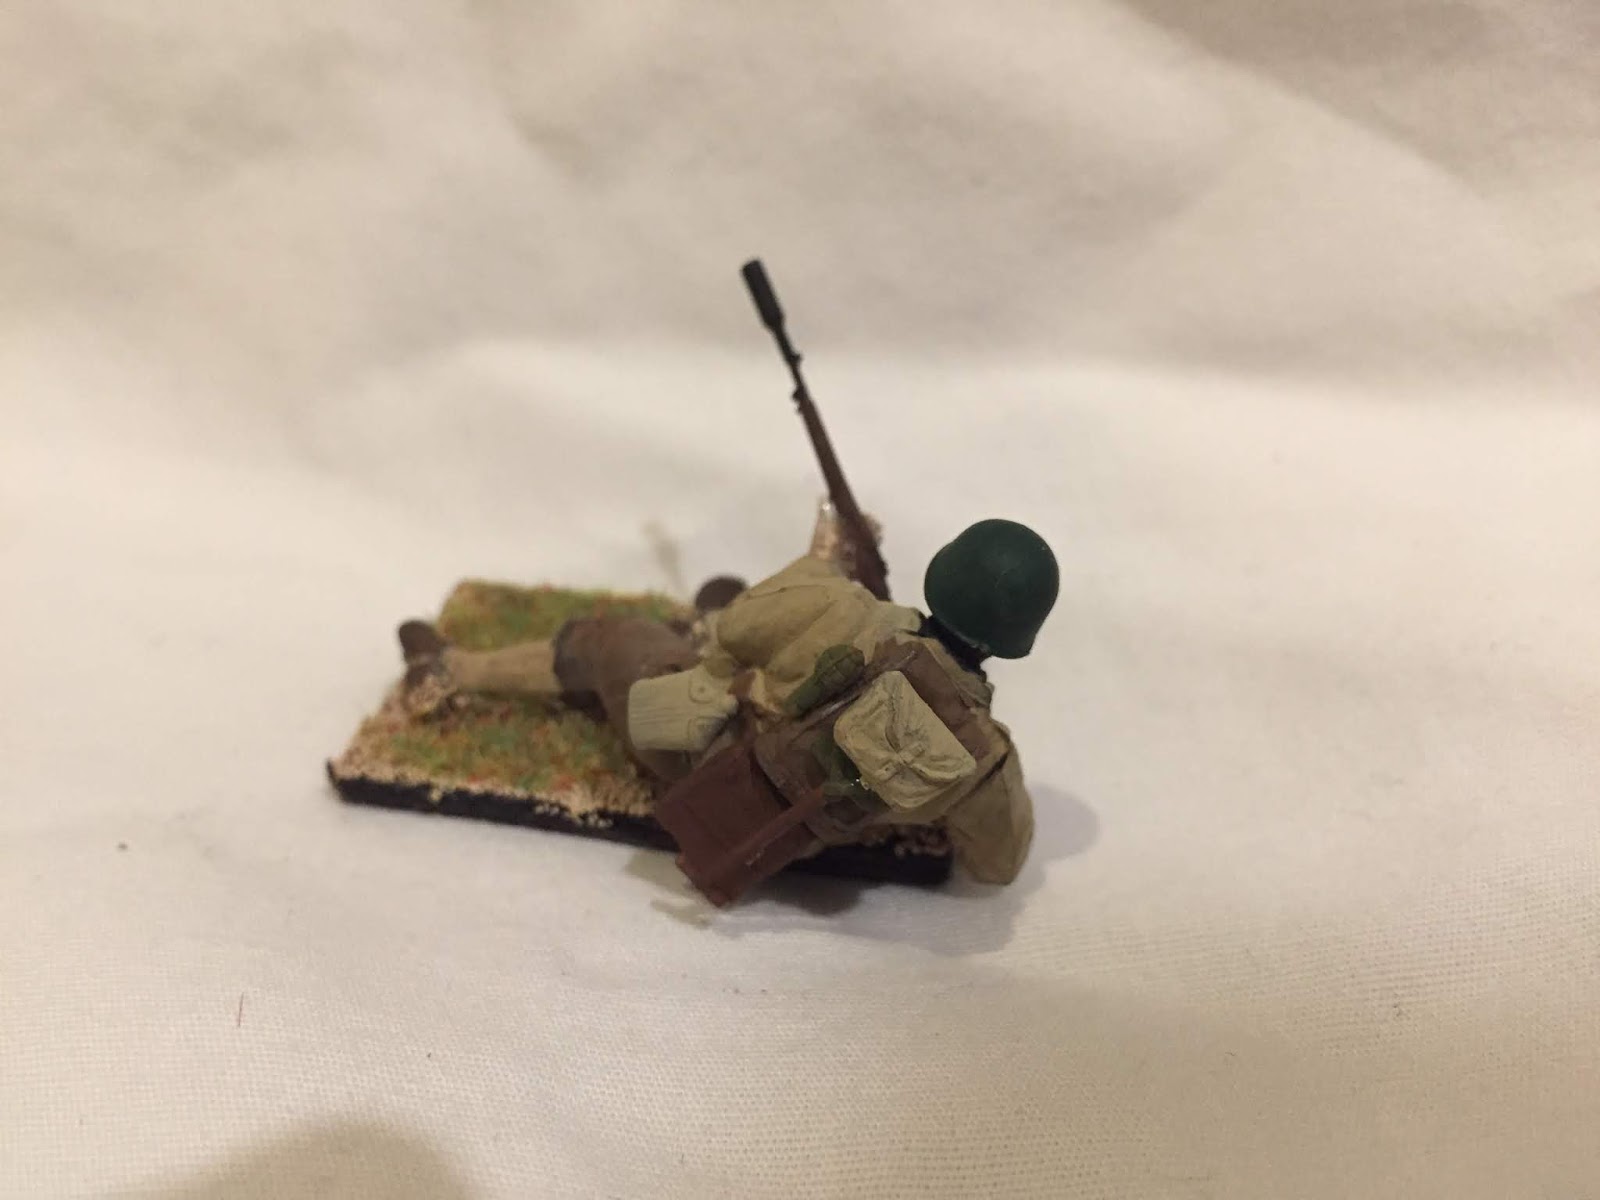
           I have been able to complete my early war American G.I.'s and am happy to introduce you to them now. You may have seen pictures of them before sporting the M1917 helmet and wonder why they're back in M1 helmets. I love the look of the M1917 but realizing the limited use of them I have chosen what I think is the best of both worlds. Using a very weak glue, I attached the later helmets, knowing I can easily pull them off and replace them with the earlier pattern helmet when (hopefully) my game calls for it.


The squad leader, equipped with map case, M1917 revolver, and M1928 Thompson SMG.


 Second in command, reaching for an extra magazine for his carbine. The trench knife on his belt is a mean looking weapon.


The BAR gunner. A take-down pickax is on top of his gasmask bag. I chose to add these as a unique way of carrying gear. 


A soldier armed with an M97 trench gun. I look forward to using its devastating close range power in Fistful of Lead soon. In a trial game it didn't work that well but more on that later.


Another soldier at the ready with an M1903 Springfield. The WW1 vintage bayonet is very intimidating. 


Last but certainly not least is the M1903 Springfield grenade launcher. Private Phillips in my Five Men campaigns has shown me how effective rifle grenades can be. I hope this G.I. can be just as devastating to the enemy.
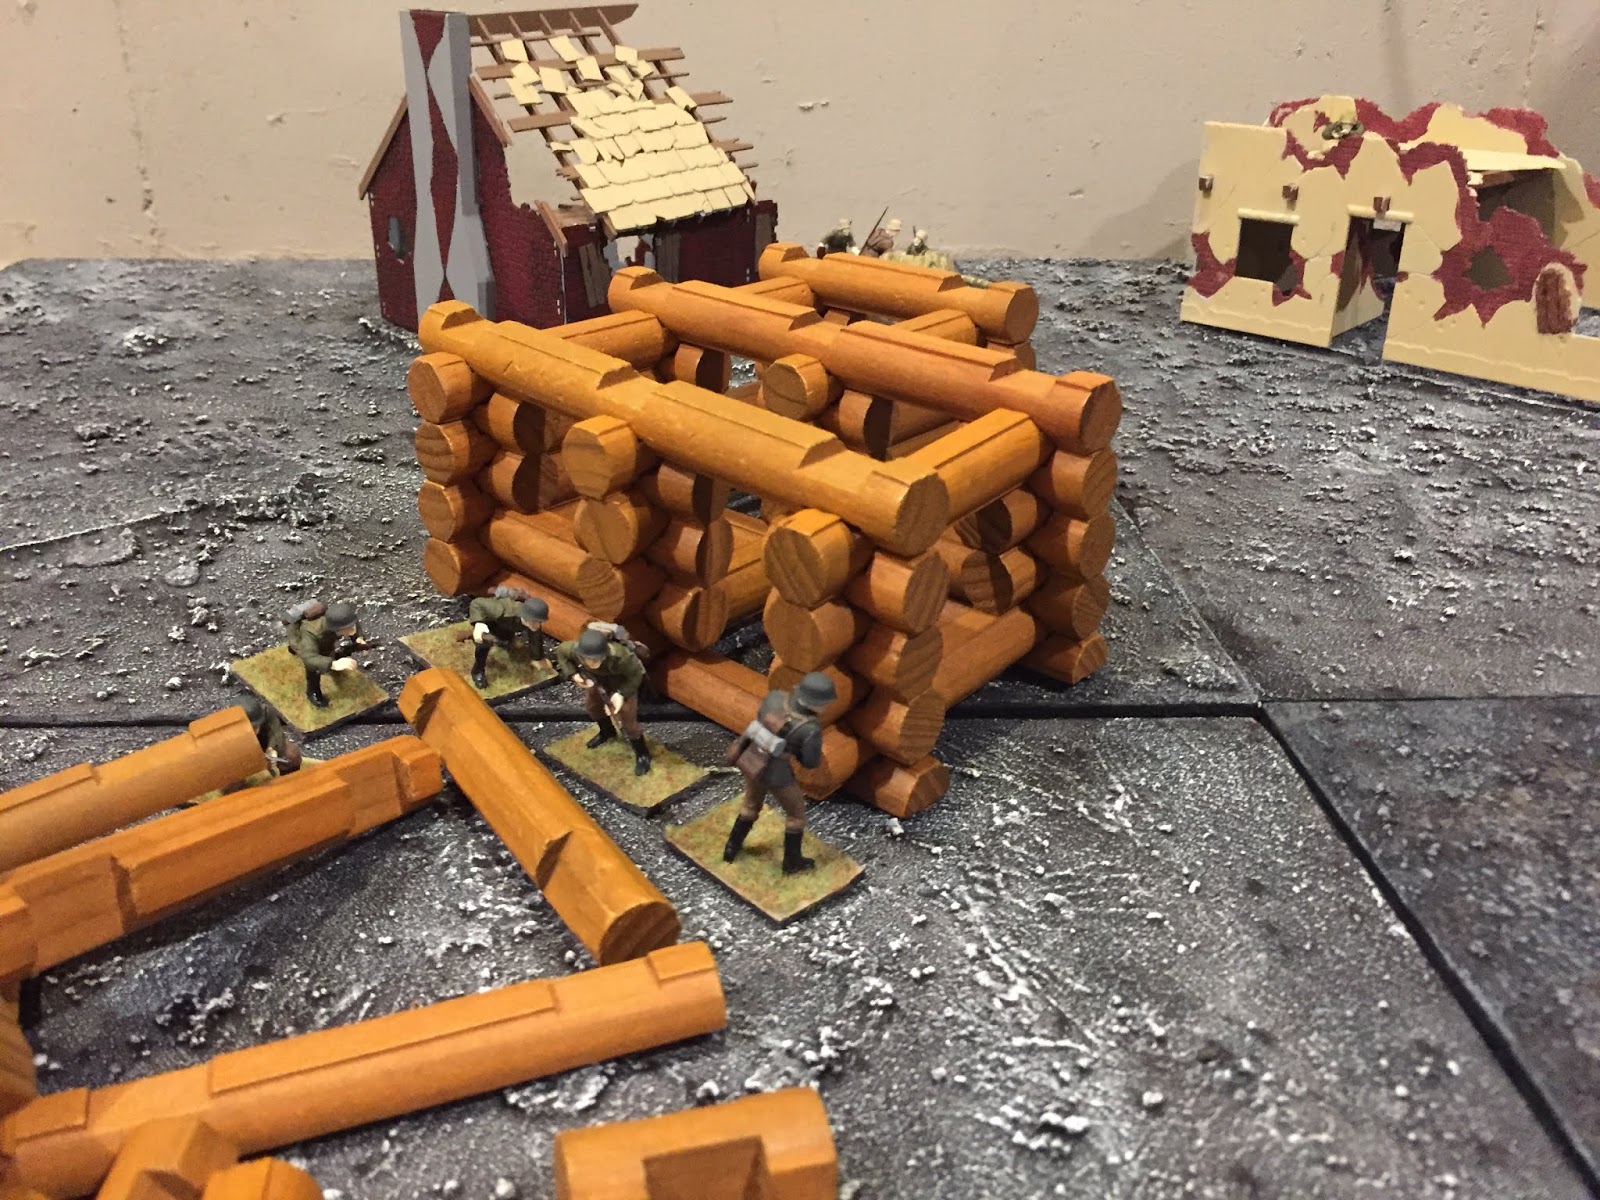

       These troops were blooded recently in a one-off game to recover a commando behind enemy lines. The dastardly German Fallschrimjagers managed to seize him under their noses and destroy them to a man, but they looked good on my rubble strewn terrain boards. The shotgun trooper mentioned before jumped on top of a trench in an attempt to stop a German from searching the bunker the commando was hiding in. However I rolled a 1, meaning his weapon was empty, and he was soon cut down by enemy fire. 


Tuesday, February 11, 2020

Skirmish Campaign: Stranded Sherman Part 1

After the successful mission in the mountains bordering the Ponte della Morte  valley, Lt Hughes of the 91st Recon moved his men down the valley following the reports of a stranded American tank at the village outskirts. Before they could get off the mountain however, they were ambushed by the angered German sniper whose patrol had been so easily defeated.

The map shows the location of the ambush, hex 5-5. The stranded tank is located in hex 4-4.

Grey chips were distributed across the playing area. When a figure encountered a chip, I would roll to see if the sniper shot, and then resolve the roll. True to his performance in the previous battle, no shots connected and the men crossed the mountain forest with no issue.