Monday, March 23, 2020

Skirmish Campaign: Stranded Sherman Part 2

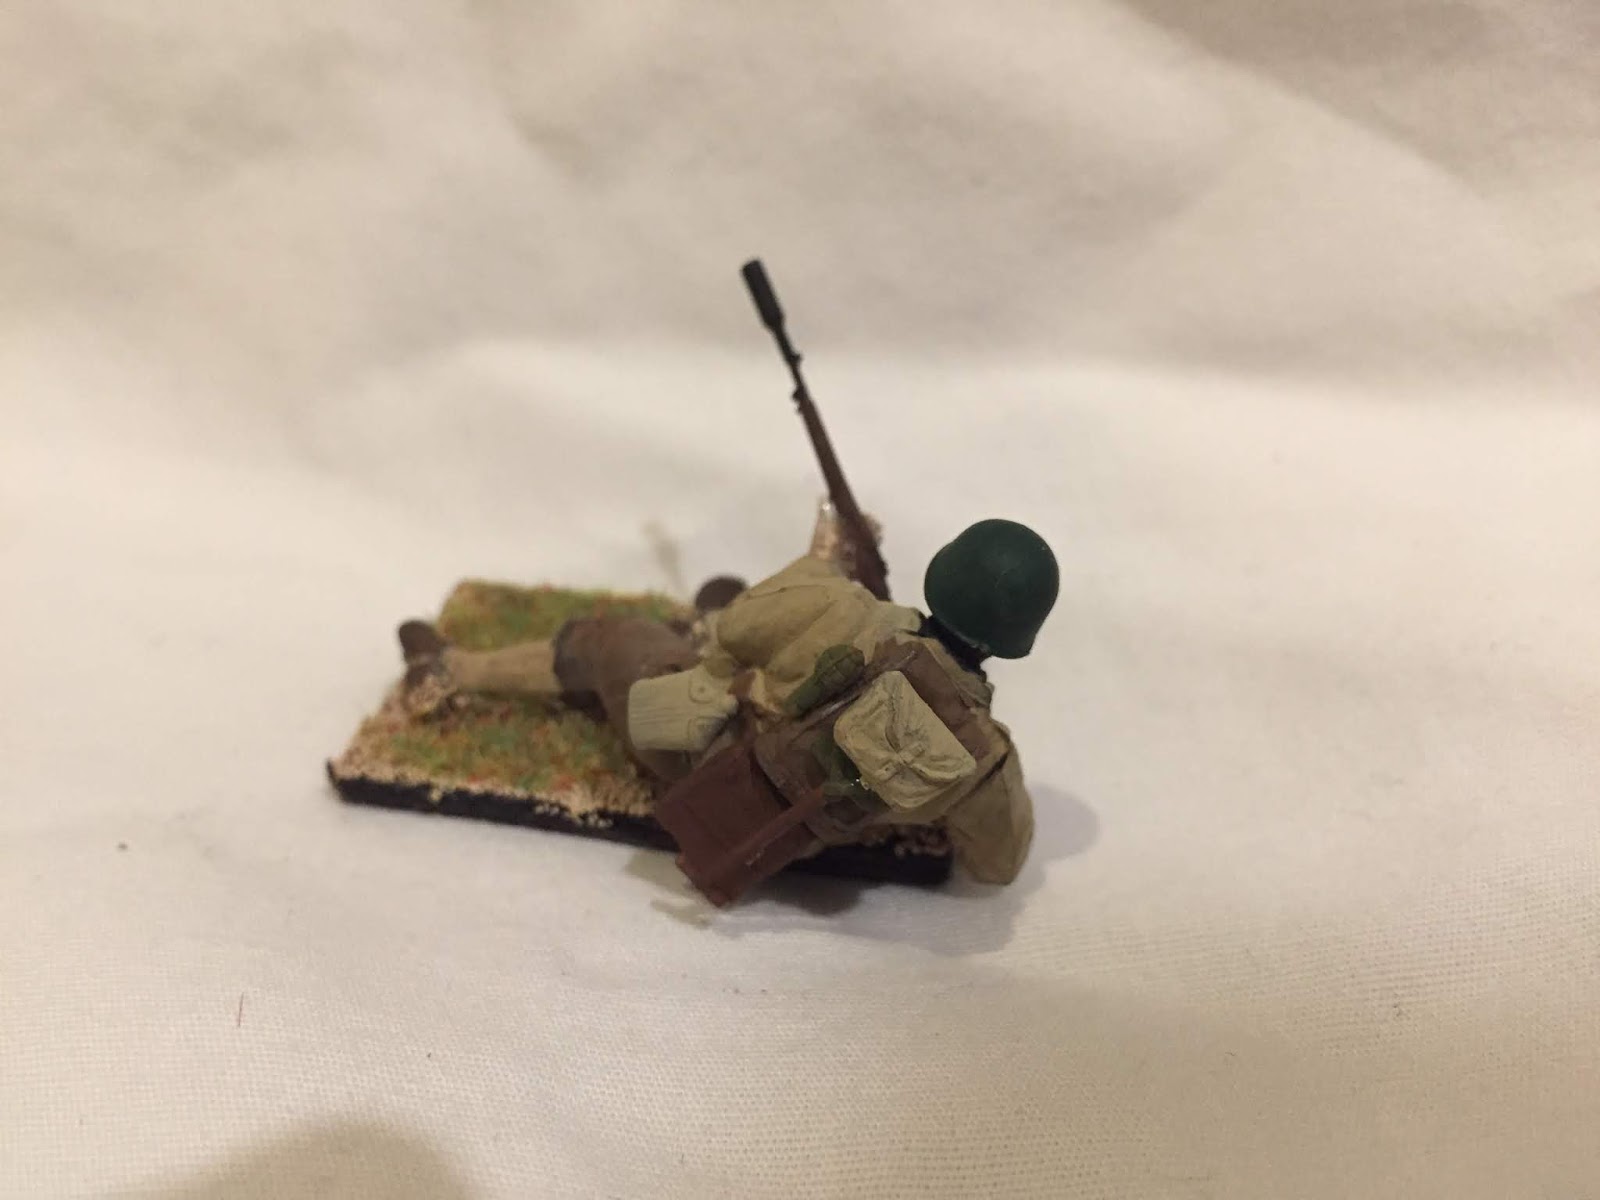
The 91st Recon successfully located the lost Sherman but before contact could be made, the tank blundered into a German fortified position. The daring rescue team is now made up of  Lt. Hughes, the ever present Sgt. Cox and his BAR man Cpl. Wood, Cpl Collins the Ranger, Pvt Phillips the grenadier, and the medic Pvt. Mitchell.  The other members of the squad waited behind in reserve. 

November 3rd 1943

As a Sergeant it is not usually my duty to write after action reports but after today's engagement I find myself thrust in command. I have taken it upon myself to write in the late Lieutenant Walter Hughes's journal the record of his death. 

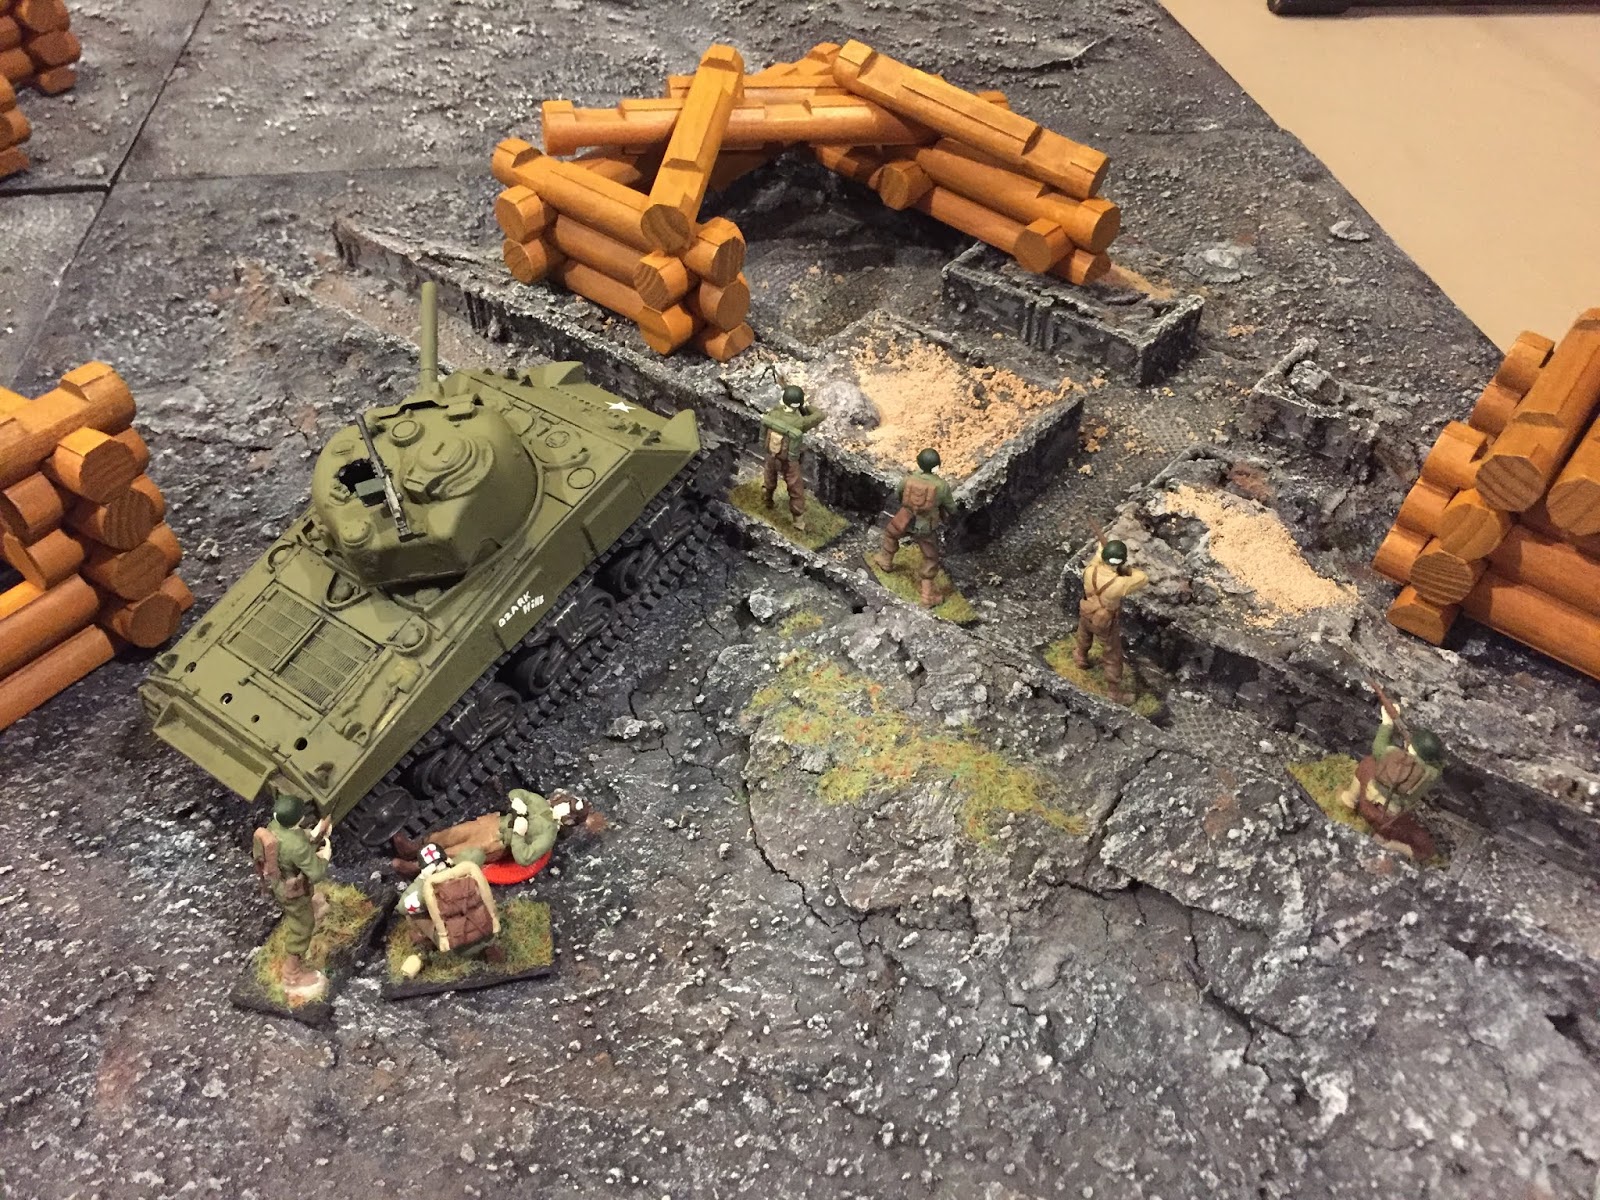
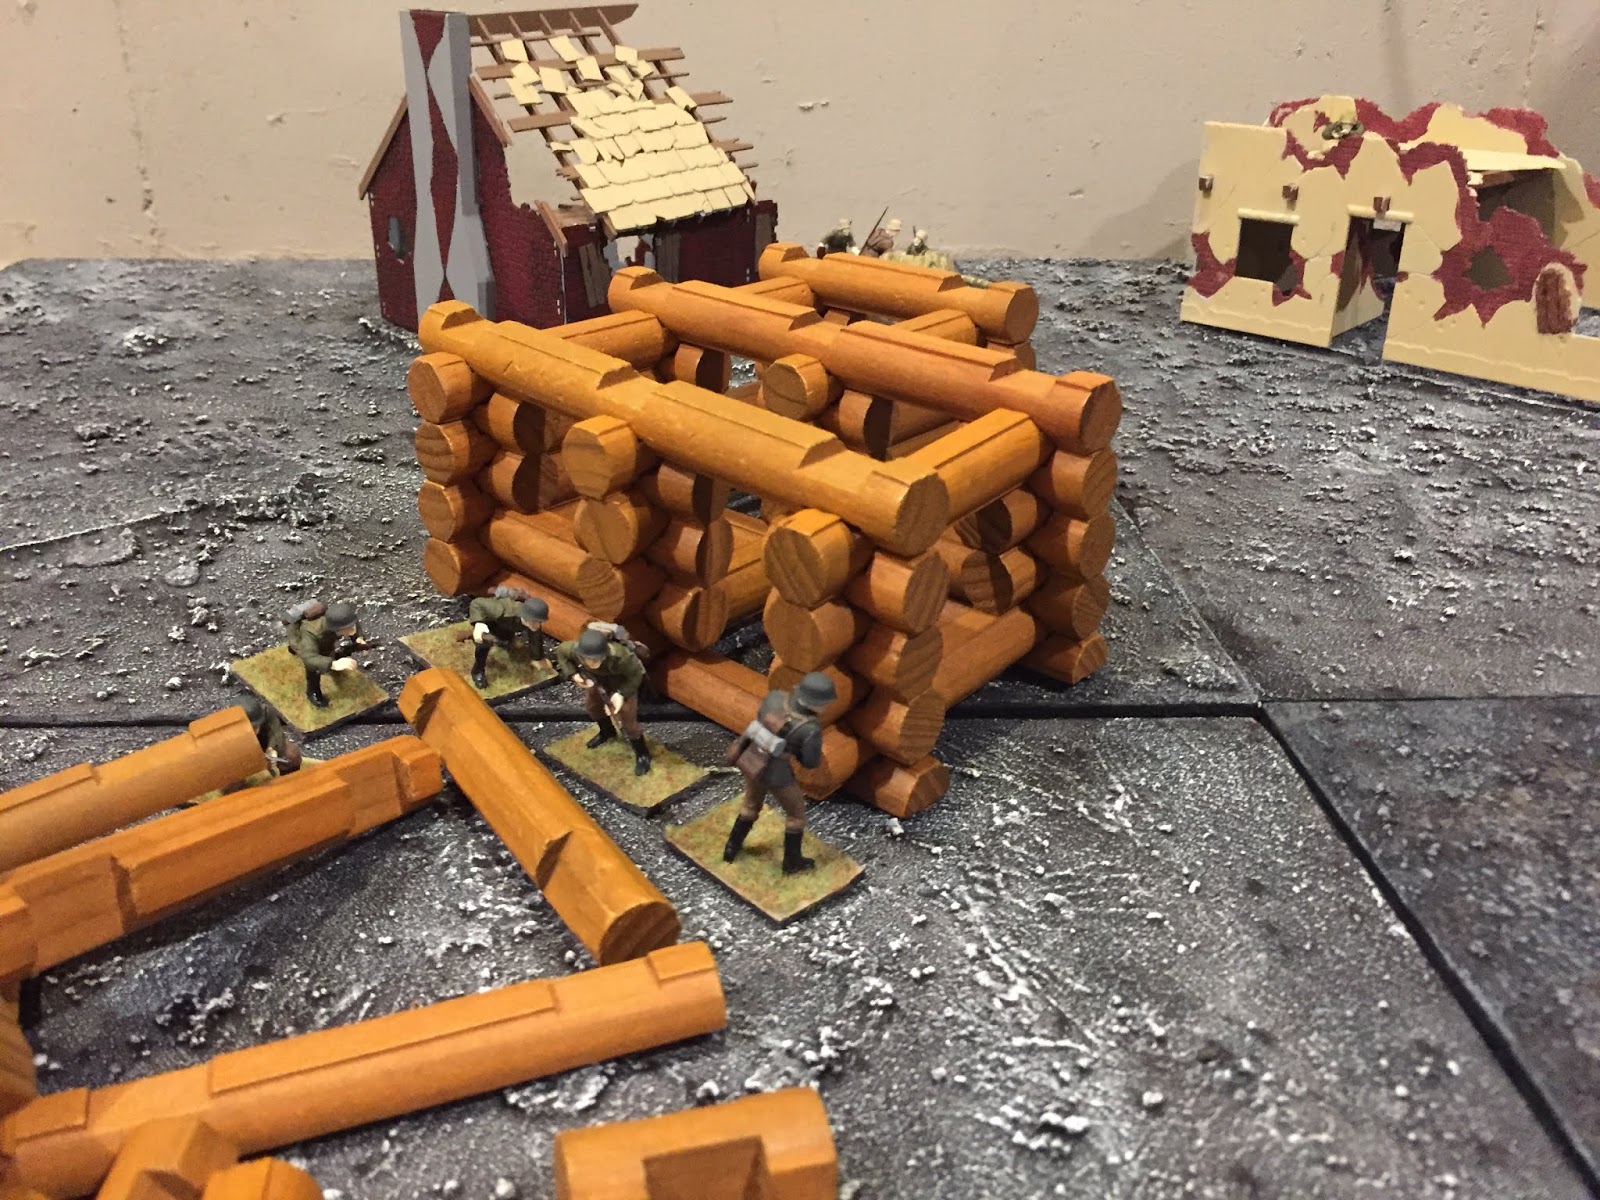
We entered the outskirts of the village of Ponte della Morte and quickly located the tank which we intended to contact. As we approached, a German antitank gun shot from ambush. The shell hit the engine of the tank and smoke poured from its hatches.   

 Lt Hughes and our medic, Pvt Mitchell, rushed to the crippled Sherman and pulled a wounded tanker from the wreck. I led the rest of the squad into cover, taking over an abandoned trench system to our right. Cpl Wood noticed an enemy Squad negotiating the rubble of a ruined building and kept them at bay, emptying his BAR. 

 As the medic helped the wounded tanker to his feet, the brave Lieutenant dove into the burning hulk again, pulling another tanker from the steel coffin. A third attempt was a failure. He jumped out yelling that the fire was close to the ammunition. He grabbed the nearly dead tanker and began to drag him away from the explosion we knew was coming. We all kept our heads down, finding any cover that we could.  

 Cpl Collins held the advancing Germans off but none of us had seen the German sniper who must have been in a building near by. Lt Hughes was noticed as he drug the dying tanker. A rifle shot was heard and he slumped forward, lifeless. Medic Mitchell turned to look but the German gun fired again, obliterating the tank and filling the air with shrapnel.


 We retreated back in to the mountains. The men are still in shock from the days events. As I am in command now, they look to me for our next plan. The decision to press the objective and locate as many allied troops as possible, or to retreat to known Allied lines is is still to be made.
 Sergeant William Cox
C Troop
91st Reconnaissance Squadron


Obviously a disappointing outcome, but that's the reality of a random solo campaign. As the men of C troop are still a ways from Allied lines, even a retreat could bring up some action. The squad is at hex 5-5. Today's battle,marked by the tank was in hex 4-4.

Sunday, March 22, 2020

Conscripts and Covid 19

           Sorry for the absence from cyberspace. Real life gets in the way of hobbies (as it should). The world seems to have turned upside down in the midst of a week. However I am trying to keep as normal a life as possible through this trial. I think I will find more hobby time than normal as this pandemic continues. I hope my forays in to solo gaming will inspire readers to expand their games as they may not be able to meet with their usual groups due to this global crisis we now face.

           I have been able to complete my early war American G.I.'s and am happy to introduce you to them now. You may have seen pictures of them before sporting the M1917 helmet and wonder why they're back in M1 helmets. I love the look of the M1917 but realizing the limited use of them I have chosen what I think is the best of both worlds. Using a very weak glue, I attached the later helmets, knowing I can easily pull them off and replace them with the earlier pattern helmet when (hopefully) my game calls for it.


The squad leader, equipped with map case, M1917 revolver, and M1928 Thompson SMG.


 Second in command, reaching for an extra magazine for his carbine. The trench knife on his belt is a mean looking weapon.


The BAR gunner. A take-down pickax is on top of his gasmask bag. I chose to add these as a unique way of carrying gear. 


A soldier armed with an M97 trench gun. I look forward to using its devastating close range power in Fistful of Lead soon. In a trial game it didn't work that well but more on that later.


Another soldier at the ready with an M1903 Springfield. The WW1 vintage bayonet is very intimidating. 


Last but certainly not least is the M1903 Springfield grenade launcher. Private Phillips in my Five Men campaigns has shown me how effective rifle grenades can be. I hope this G.I. can be just as devastating to the enemy.


       These troops were blooded recently in a one-off game to recover a commando behind enemy lines. The dastardly German Fallschrimjagers managed to seize him under their noses and destroy them to a man, but they looked good on my rubble strewn terrain boards. The shotgun trooper mentioned before jumped on top of a trench in an attempt to stop a German from searching the bunker the commando was hiding in. However I rolled a 1, meaning his weapon was empty, and he was soon cut down by enemy fire.