Showing posts with label Painting. Show all posts

Sunday, August 9, 2020

Generosity and Painting!

 Miniatures and Wargaming are truly wonderful hobbies simply because of the type of people that take part in them. Several sprues of soldiers were generously donated to me by Mannie Gentile of the Toy Soldiers Forever Blog. He is a talented craftsman and hobbyist whose blog inspired me to document my own amateur attempts. If you haven't seen his work I encourage you to check out his work using the link above. Well I have now completed all the kits he sent me and I thought I would go ahead and display them here. 


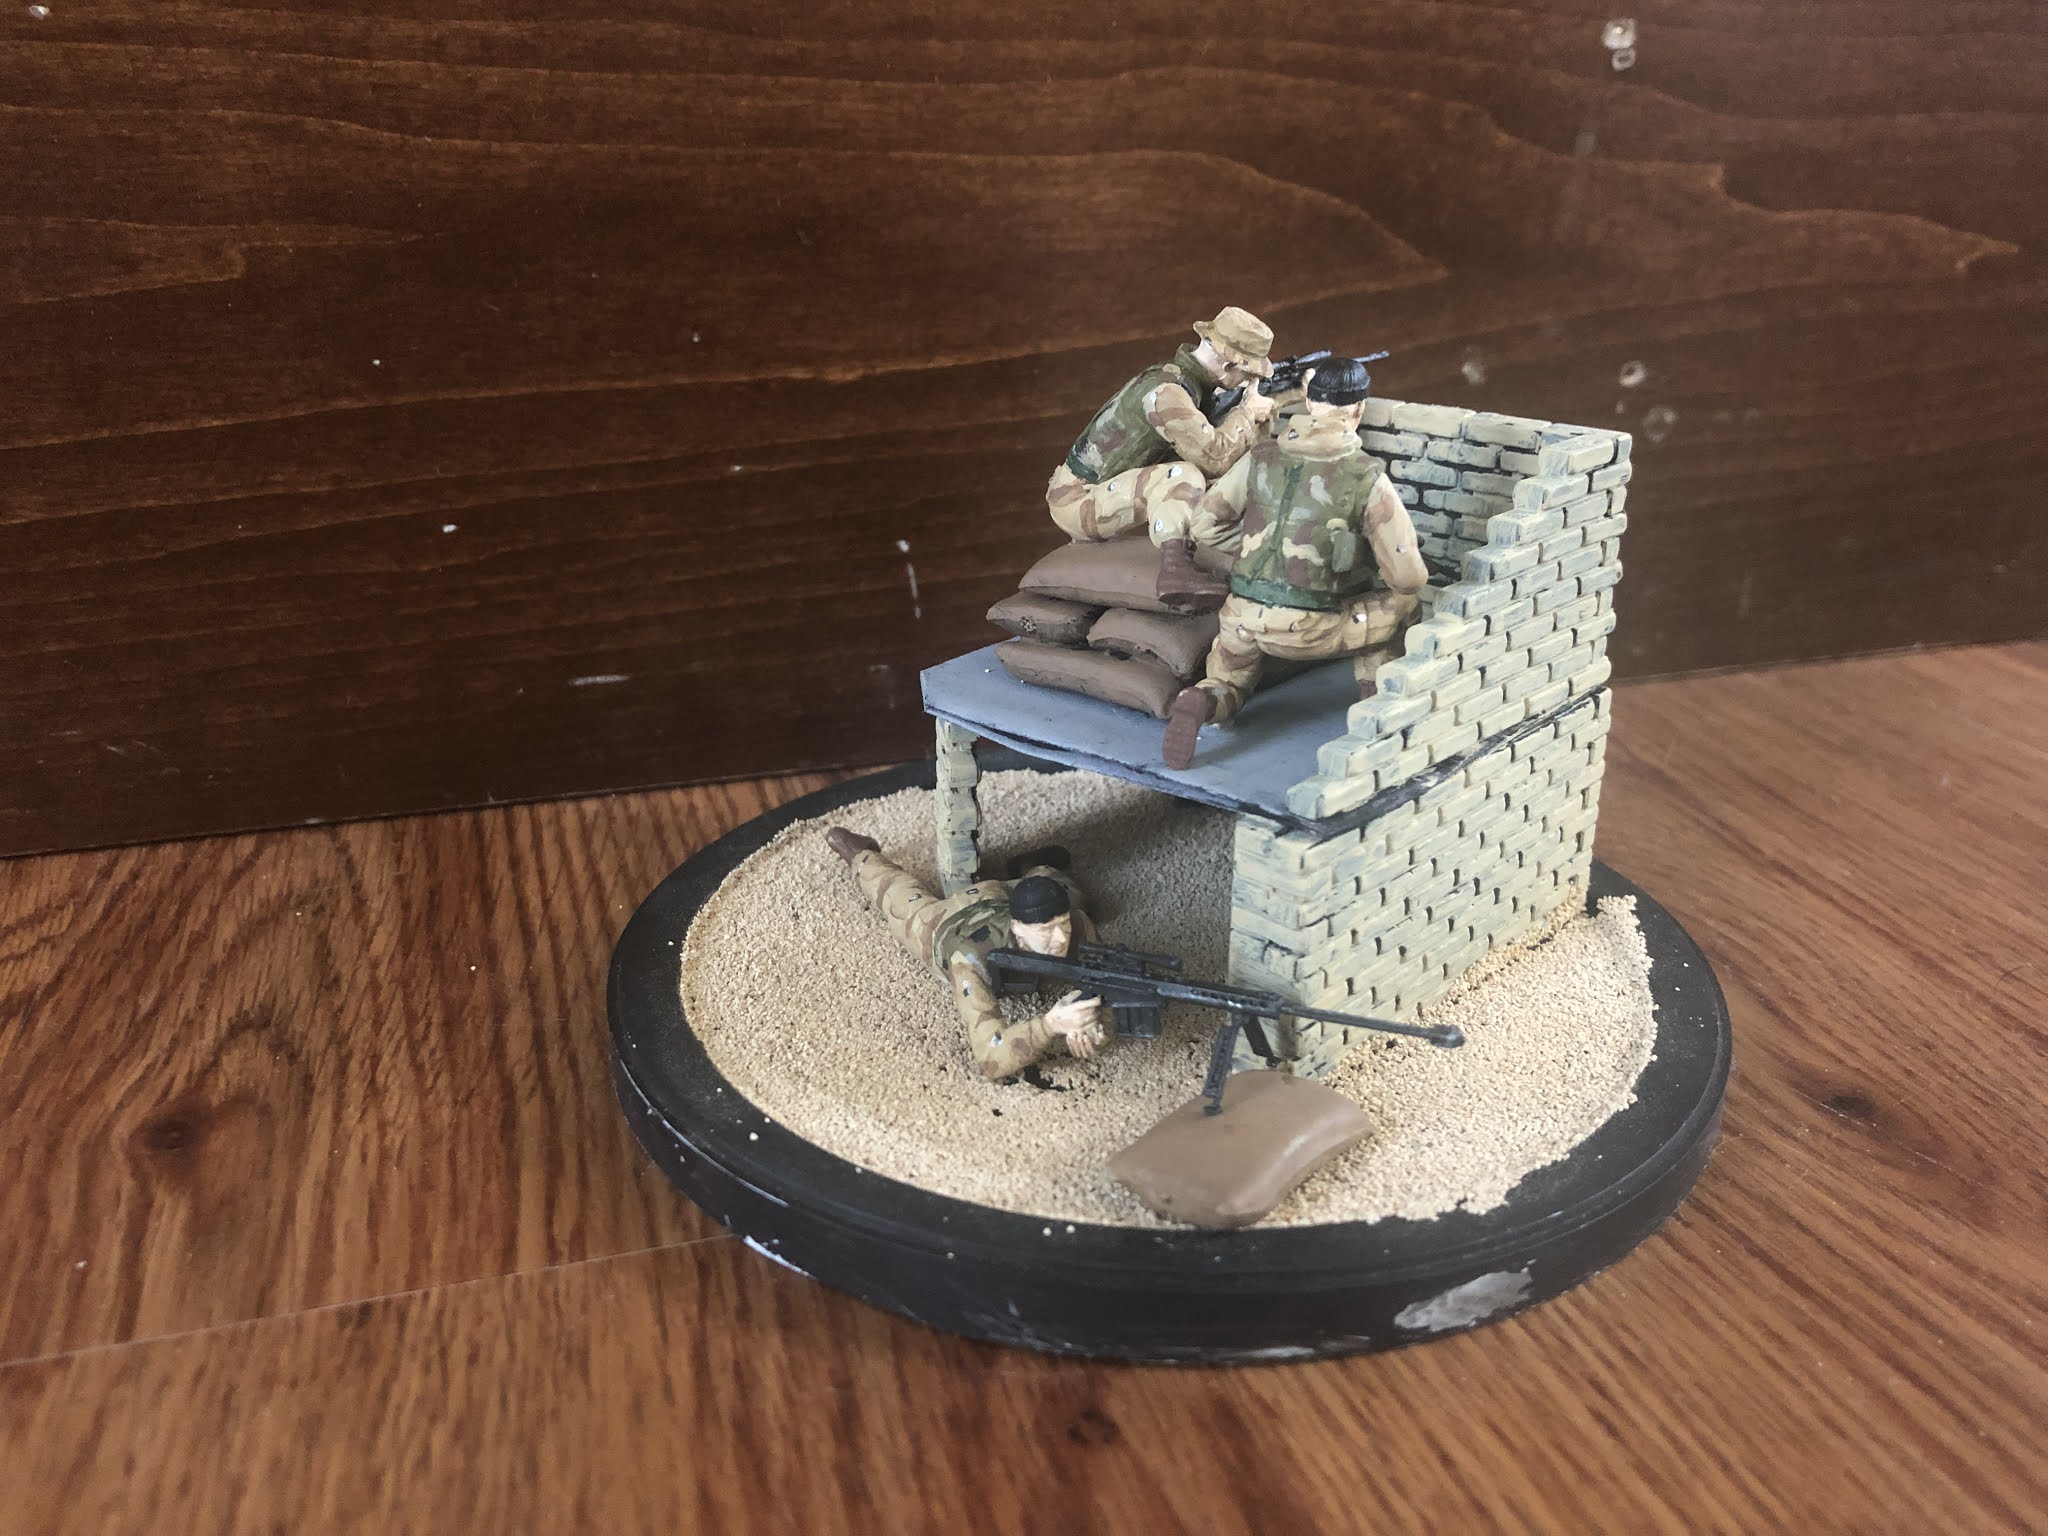
  First up is a modern U.S. sniper team. The kit included four figures but I am saving one for a special project. As I don't usually do modern subjects, I decided to build a small vignette for a friend of mine. He doesn't read my blog so he won't see it till his birthday, when hopefully I will have the base perfected. The Desert Storm uniforms were fascinating to me because of the mix of both woodland and desert camouflage patterns.


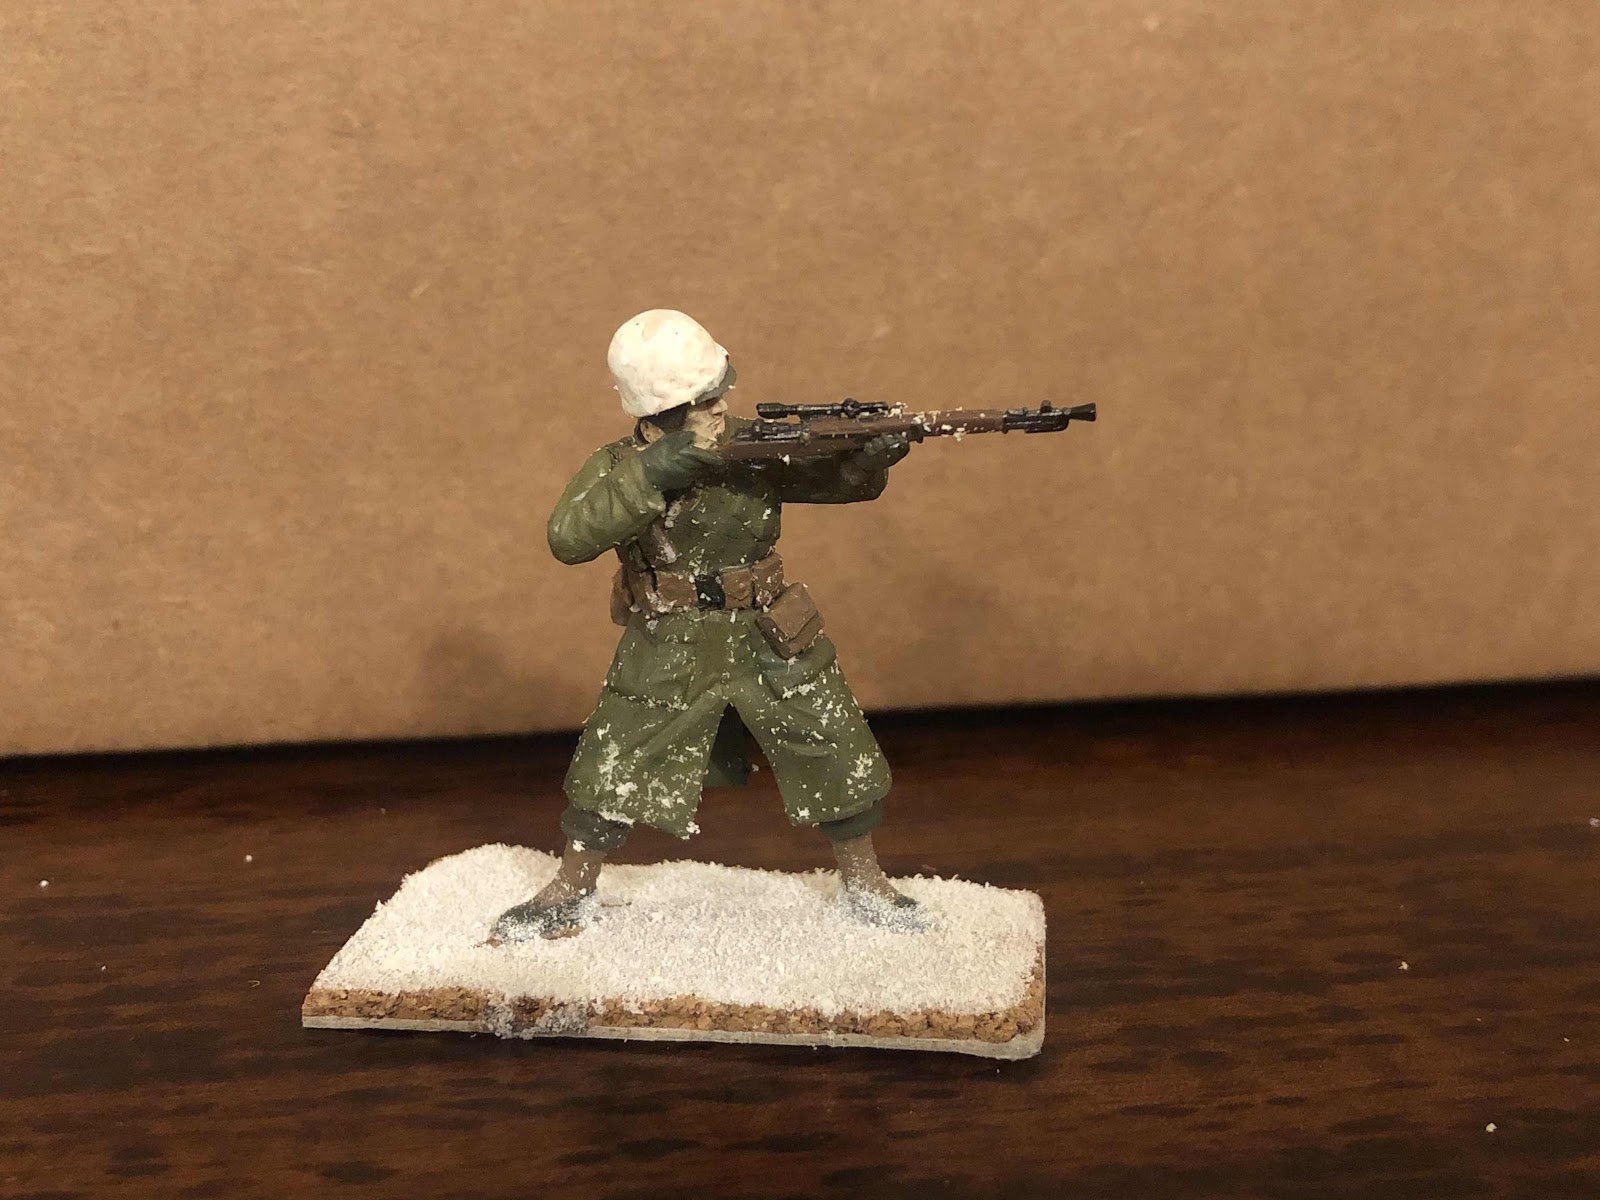
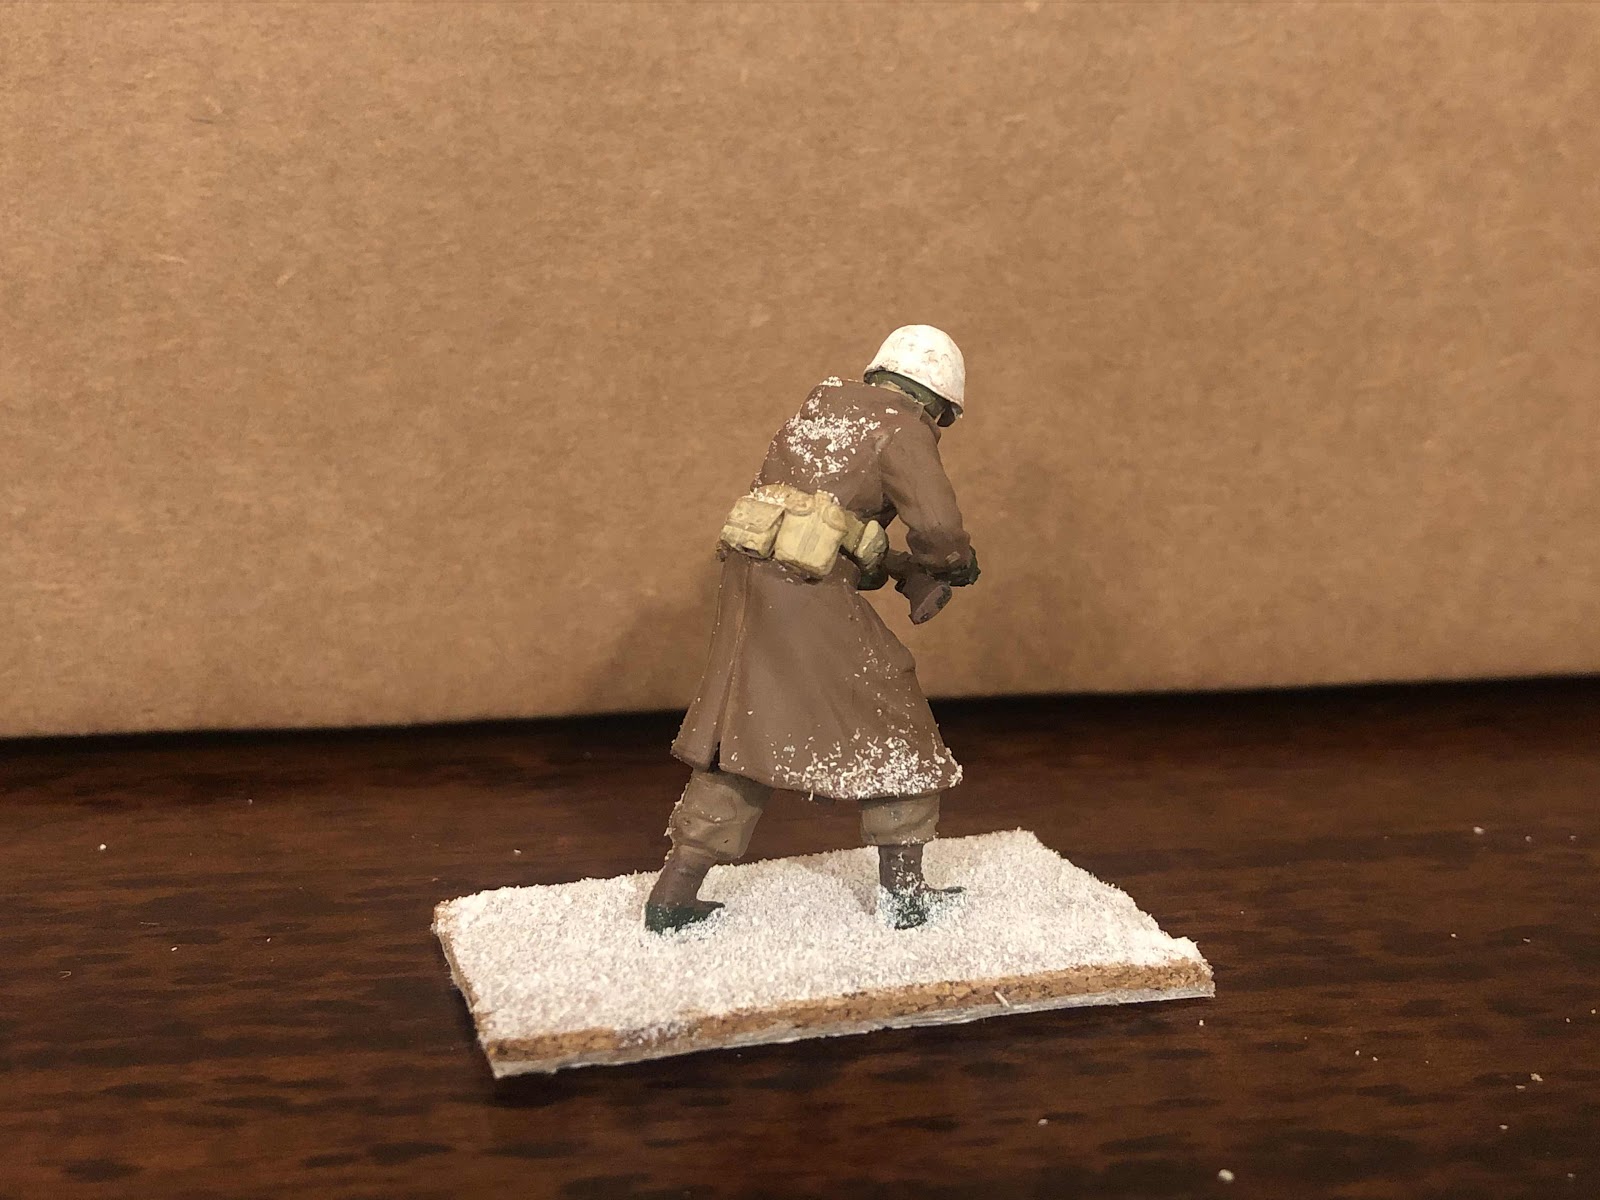
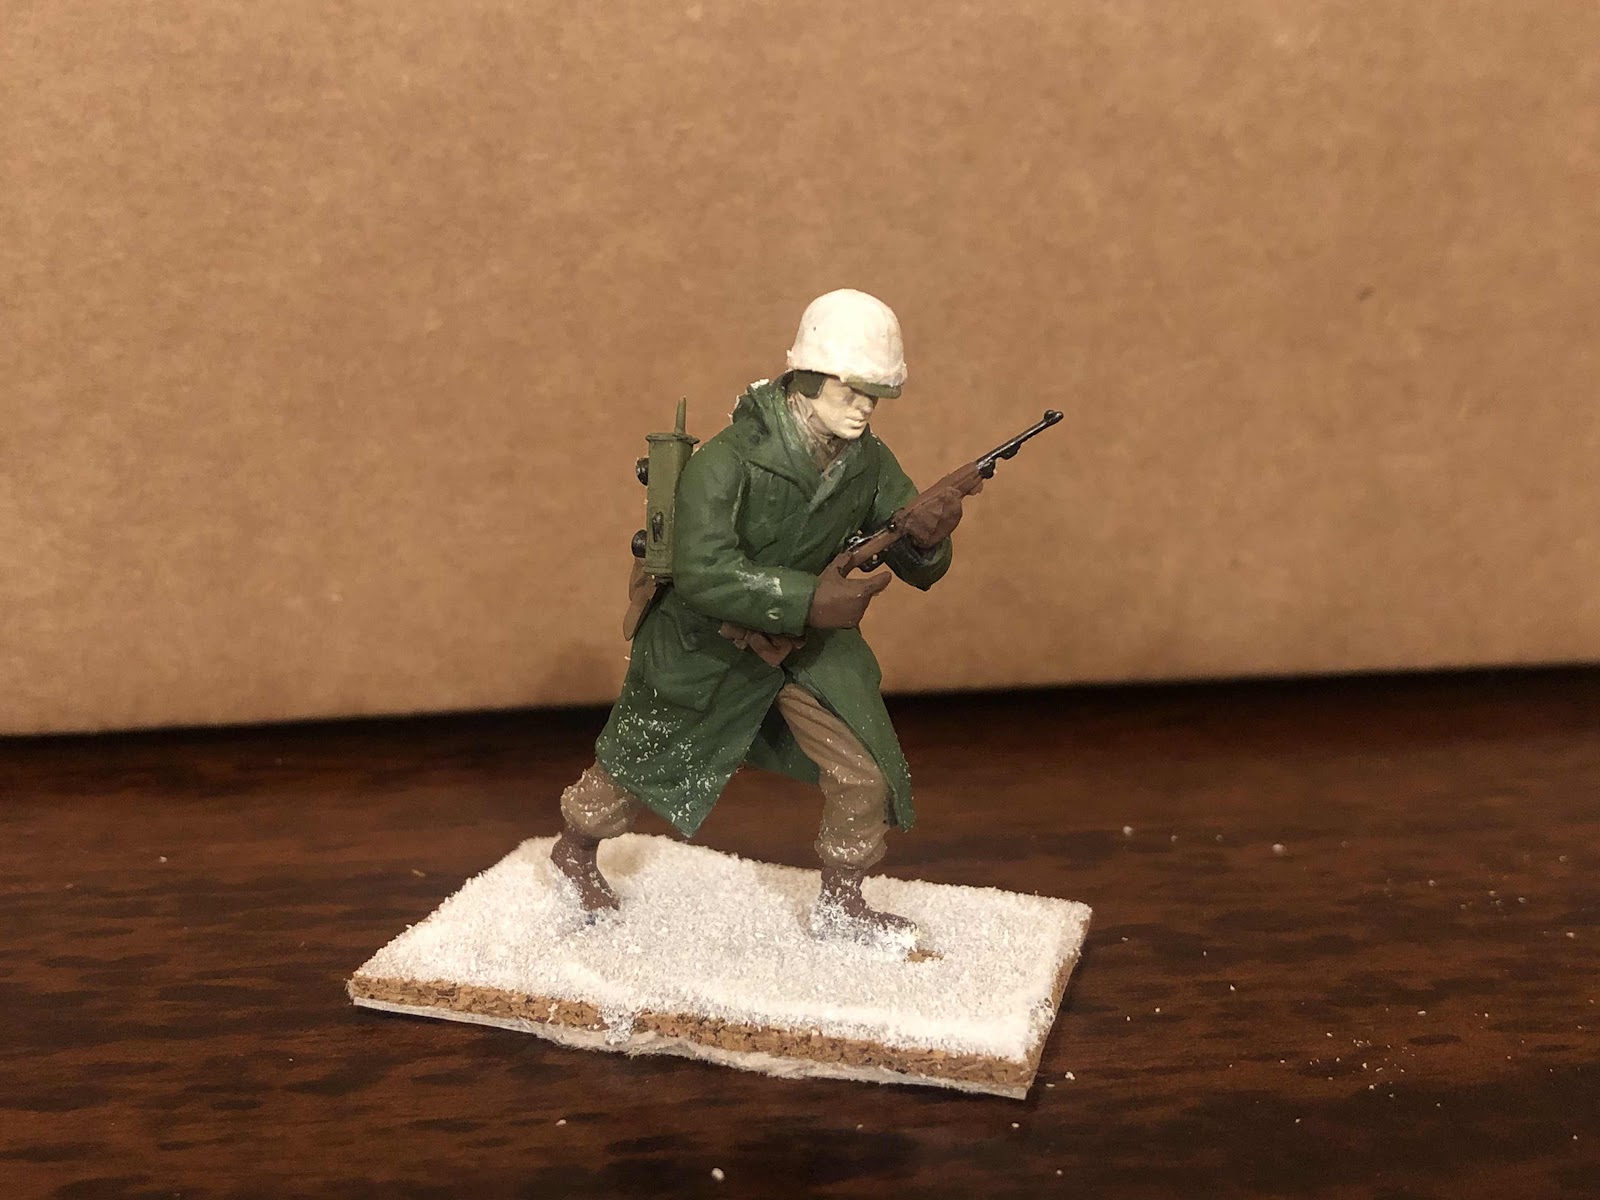
Next up were another set of Dragon Korean War Marines and three Tamiya Winter G.I.'s. As I just completed a set of the marines, and because one figure was missing his arms, I did some headgear and arm swapping from my spare parts drawer. I like the diverse look they have now. 


Here they are the four soldiers I had already completed. In the time span of a week, I went from having a handful of winter G.I.s to being able to field an entire skirmish force thanks to one mans generosity. I hope to have them on the table soon, either in the mountains of Italy or the Korean peninsula.  
 

Tuesday, July 14, 2020

Let it Snow!

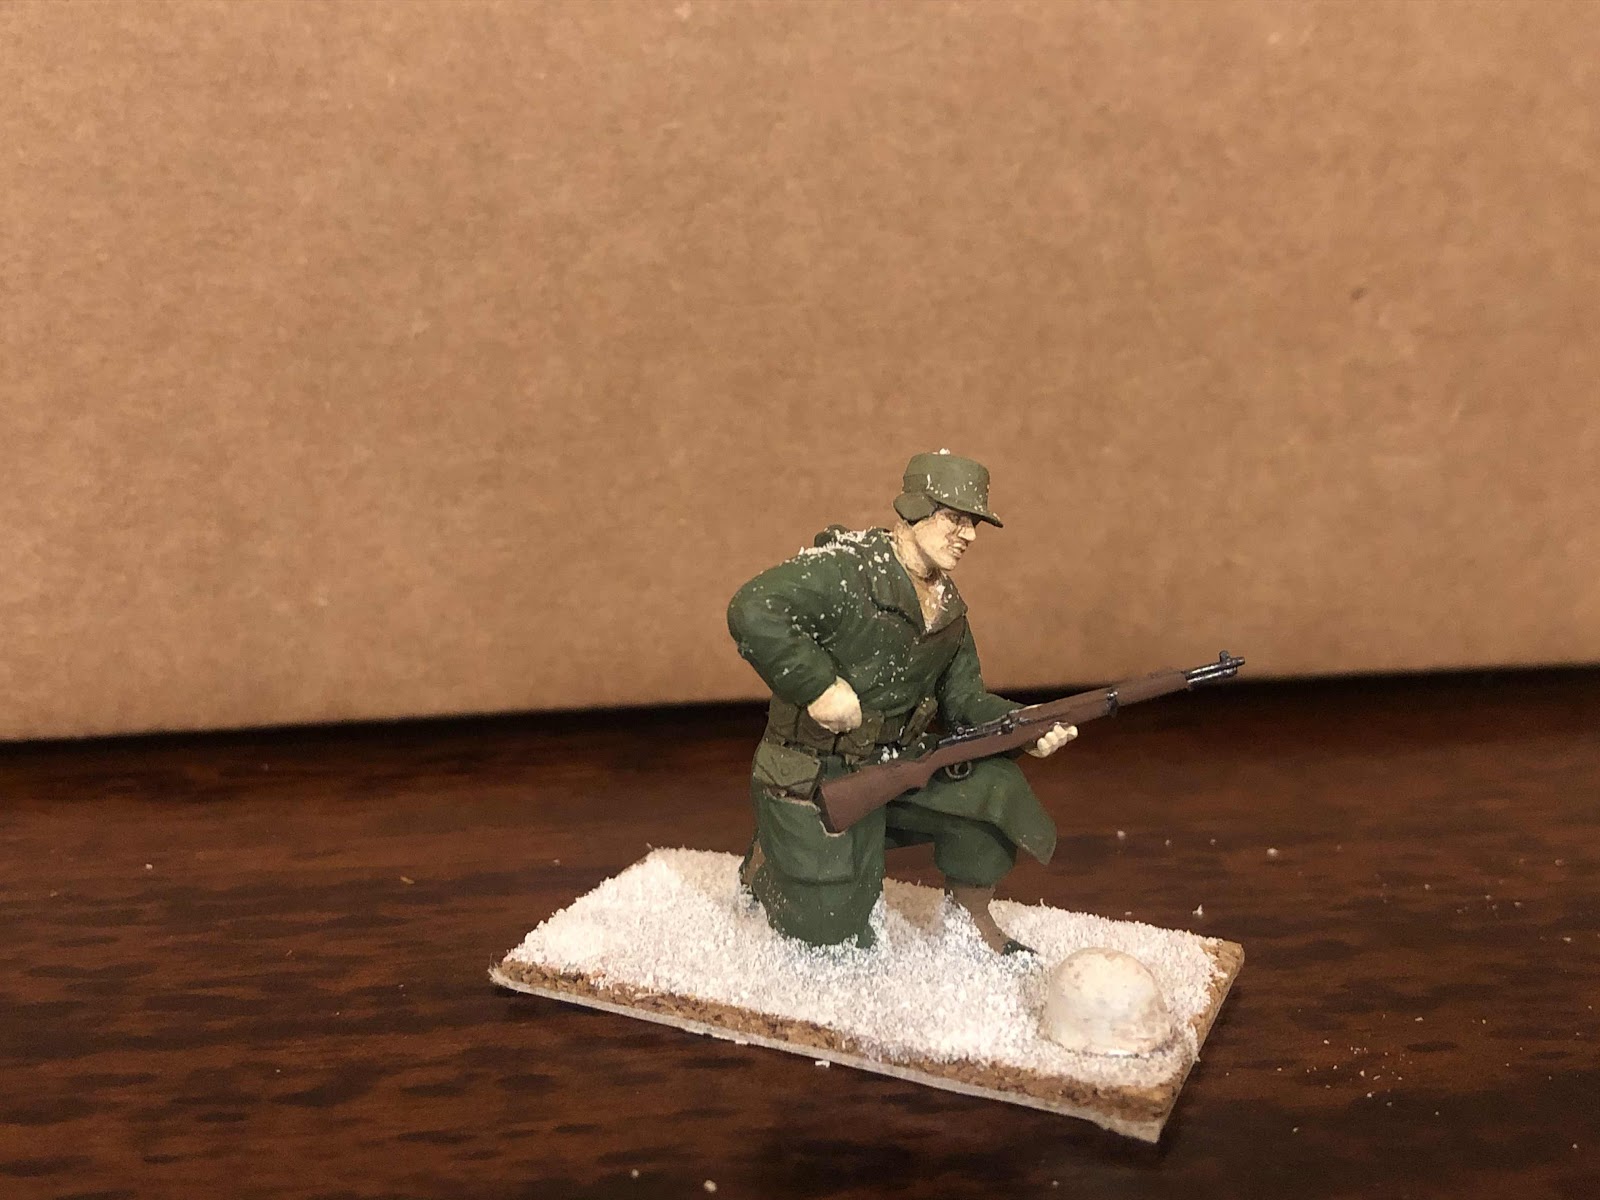
The first figures finished  at my new bench! I chose to do some American troops in winter gear. The figures are Korean War Marines by Dragon but I gave them white helmet covers so they could in WW2 if I need them too. The first figure I modeled after a good friend of mine that served as a sniper in the 936th Field Artillery Battalion during the Korean Conflict. The Soviet and German sniper teams are nearing completion as well.  


Sunday, April 19, 2020

Allied AFV's

Although the Ponte della Morte campaign has been mostly an infantry affair,  my 1/35 WW2 collection does include some AFVs as well. 


The 91st Recon Squadron's trusty Jeep. The .30 Browning  is removable and the windshield folds. Tamiya hit a home run with this kit. 


Another Tamiya kit, the M8 Scott packs a big punch in a small package. 


I magnetized the .50 cal machine gun and super glued pieces of wire in the ring mount so the gun can be attached in four positions.


One of two New Ray Shermans. These kits are dirt cheap and durable. Not the most detailed, but strong enough to handle anything in storage or on the table. I painted this one in a nonstandard "sand and spinach" camouflage similar to British patterns in North Africa 


Another New Ray kit, this time an M3 Lee. I have not gotten around to painting this one yet. It will need some modification. The 75mm gun will not rest in any position except all the way elevated or depressed. Maybe a system of magnets could fix this. 

Wednesday, April 8, 2020

8 Steps to a Stunning Paint Job Using Only Craft Paints

As a budget conscious hobbyist, I try to keep my budget manageable.  One way I do this is to only use inexpensive craft paints. Brands like Anita's and Americana can be used for a very good result with only a few steps. 


To demonstrate these techniques, I painted this Tamiya 1/35 Italian Officer. He is a crisply detailed figure and very easy to work with. After building the figure, I trimmed any excess glue. 


Step 1
Instead of priming, I give the figure a base coat in either black, grey, or white. This base gives your other paints a better surface to hold to, but also serves some appearance purposes as well. The black adds a darker tone to whatever color you put on top. White does the oposite of this and grey is more of a neutral base.  I chose matte black for this figure because of the grey colored uniform. Your base coat doesn't have to be perfect! I missed some spots on the lower legs of this model. What is important is that you only use one coat and let the molded details show through.


Step 2
Next I paint on what ever color the majority of the figure will be. Two thin coats does the trick nicely but make sure you give the model time to dry between coats. This gives you the most detail retention possible. Obviously the black shows up under the first coat but the second coat provides a nice overall color.


Step 3
After the main color is dry, I move to the skin tone. After applying one thin coat you will start to doubt that this model could ever look good with these paints, but have faith!


Step 4
While the skin tone is drying, I move to the other colored details on the model. For this officer it was a Sam Browne belt and black leather leggings over his boots.


Step 5
After the first coat of skin tone is dry, I put another thin coat over it. while this dries I continue working on the other details of the model. Here I painted the piping on his cap, browned his boots and tidied up his collar.


Step 6
Here I finish up any little details left to be done. Hair, buttons and touching up any mistakes are what I did here.


Step 7
This can be the most challenging step, giving the figure a wash. After it dried,  I gave this figure two colors of wash; a brown wash on all exposed skin and hair, and a black wash over everything else. Take a few milliliters of water and mix one or two drops of paint with it. Stir it till it has an even consistency. It should be very runny. Apply this mixture with a brush and absorb any large areas of excess by touching them with a paper towel.


Step 8
For protection I varnish my figures in an ultra matte varnish. Tabletop miniatures endure all kinds of abuse either in storage, transit or on the game table itself. The varnish will look very glossy at first. but as it dries will preserve the original look very well.


Here's my completed figure. The washes bring out the uniform and face details and show just how well sculpted this figure is. When I started the hobby, painting seemed so intimidating.  Hopefully this little tutorial helps someone see how simple painting a nice table ready miniature can be.